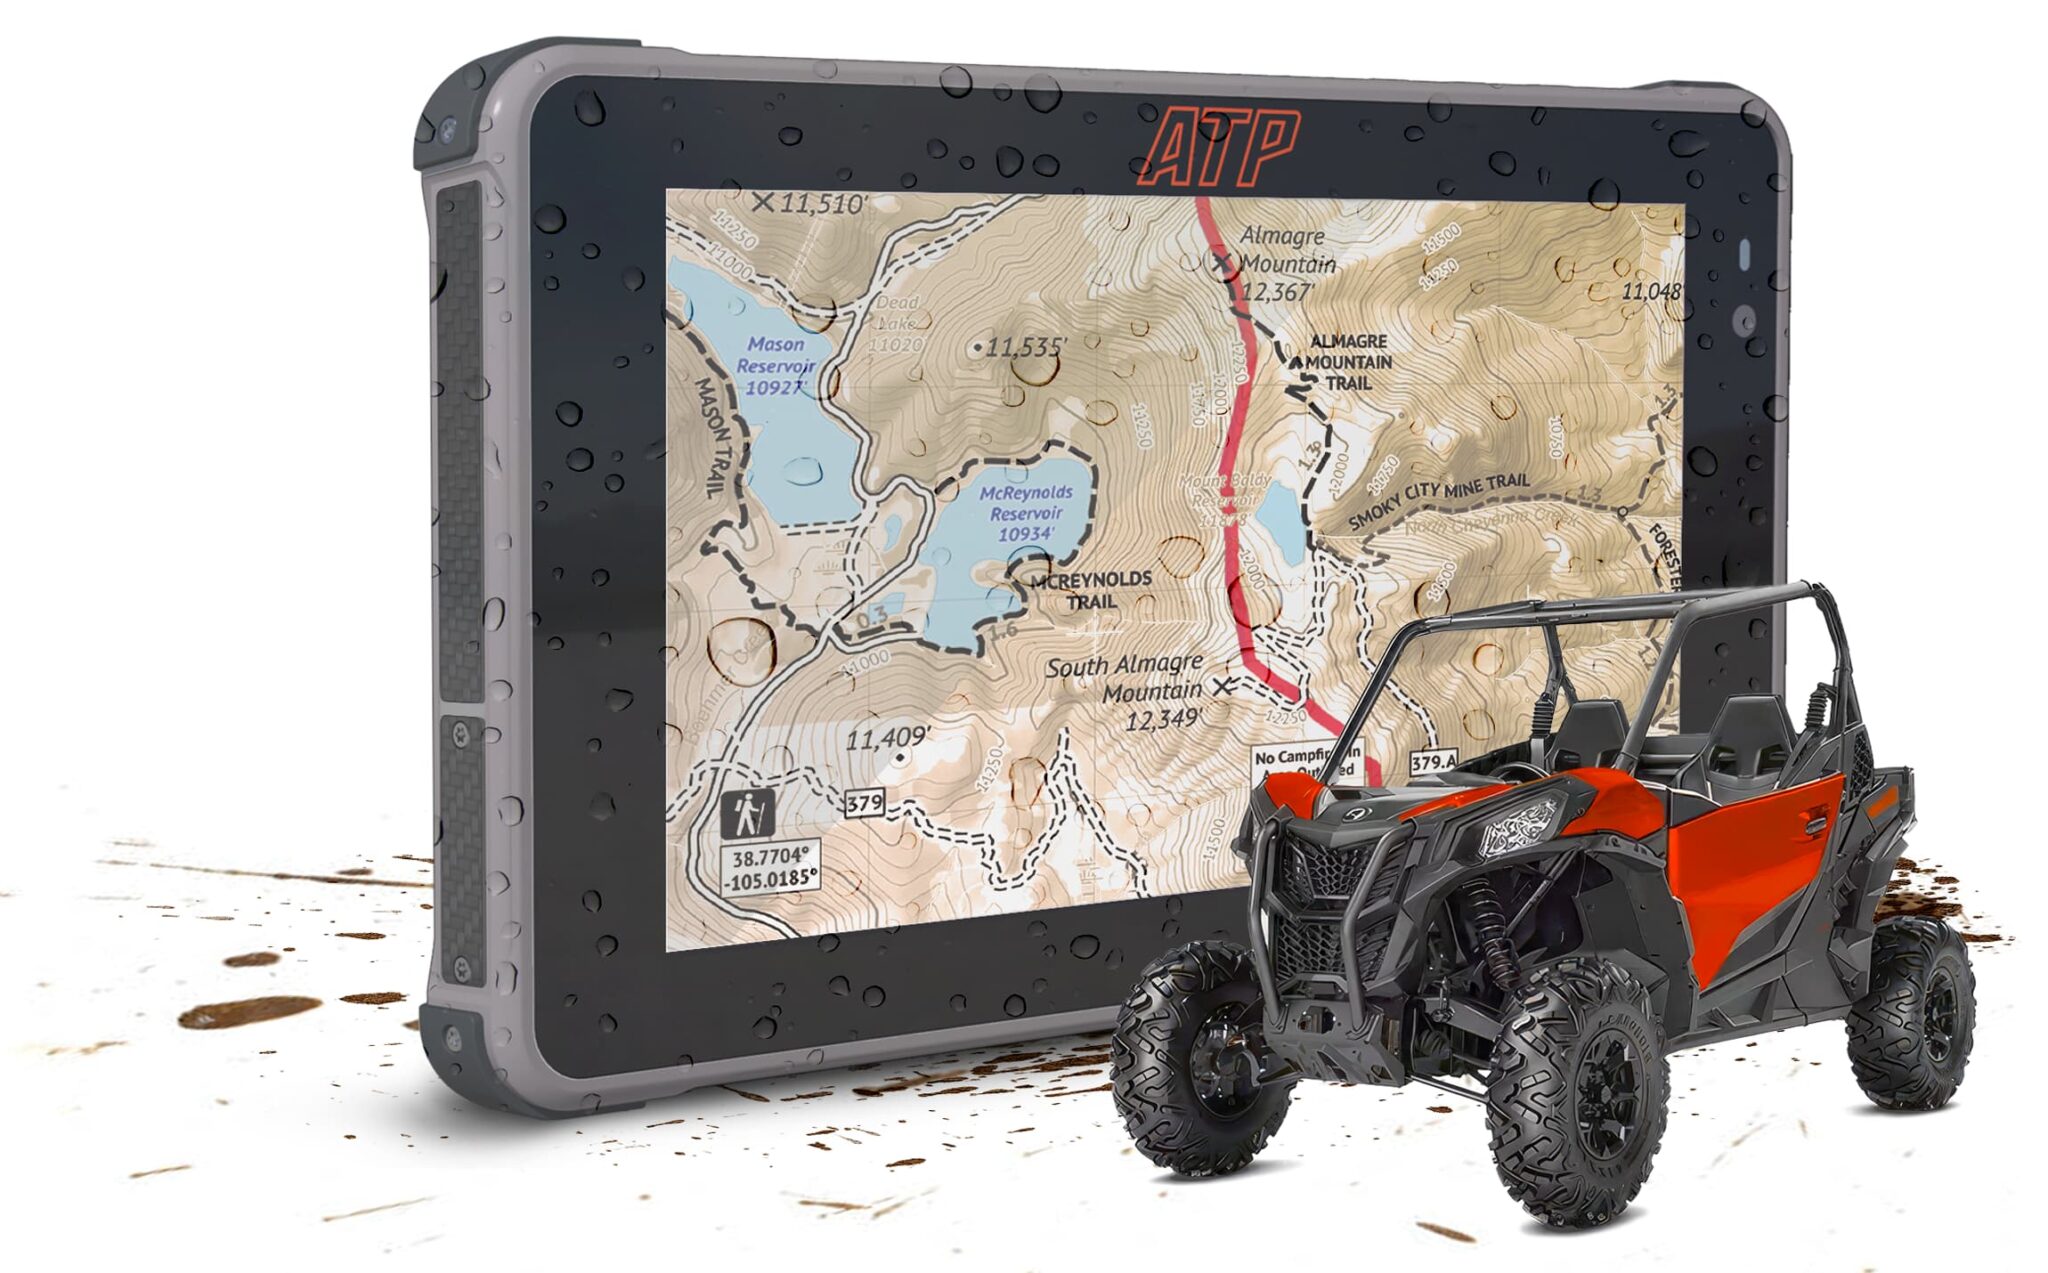
April is when most riders get their machines back out. Spring checks, fresh tires, gear installs that got deferred over winter. If mounting a navigation tablet has been on that list, this guide covers everything you need to do it right — from choosing the mount location to running clean power wiring.
The install isn’t complicated. There’s a right way and a shortcut way. The shortcut usually shows up three rides later as a loose mount, a dead tablet, or a cable that pulls out at speed.
What You’ll Need Before You Start
Before touching anything in the cab:
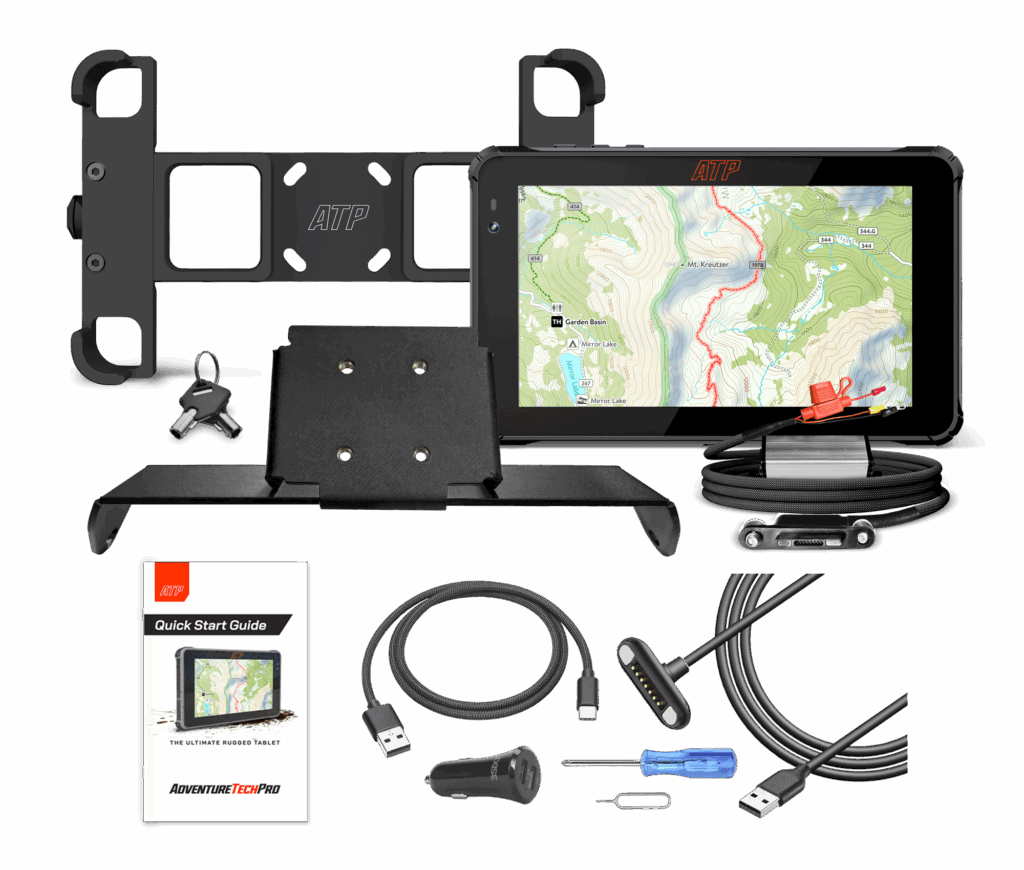
- ATP Rugged tablet (or your chosen device)
- AMPS-compatible mount bracket
- Vibration dampening isolators (included in the ATP Pro Pack)
- 10mm and 12mm socket (for most UTV mounting surfaces)
- Cable management clips or zip ties (included in ATP Power Supply)
- USB-C hardwire cable (included in the Pro Pack) or a 12V USB-C adapter
- Pogo Pin mechanical connector cable (included in the Pro Pack)
If you’re running the ATP Pro Pack, everything listed is in the box. If you’re assembling the mounting system separately, confirm AMPS compatibility before purchasing hardware — not every mount labeled “universal” uses the AMPS bolt pattern.
Understanding the AMPS Mounting Pattern
AMPS stands for Authorized Mounting Pattern Standard. It’s a 30mm × 38mm bolt pattern, and it’s the standard for serious vehicle-mount systems in the powersports aftermarket. RAM Mount, Arkon, and most quality UTV mount brands all use it.
Why it matters: AMPS hardware is interchangeable. If you’re already running an AMPS-compatible dash bracket in your UTV, the ATP mount drops right in. If you’re starting fresh, any quality UTV tablet mount in the AMPS family works.
What to avoid: suction cup mounts and adhesive-backed mounts. They’re fine for light driving. UTVs generate too much vibration for either to hold reliably over a long trail day.
Choosing the Right Mount Location in Your UTV Cab
You want the tablet in your sightline without requiring you to take your eyes off the trail for more than a quick glance.
For most UTVs, the options are:
Center dash mounting. The cleanest option when the dash geometry supports it. Centers the display between driver and passenger — useful if your co-rider is also navigating or calling waypoints.
Driver-side dash. Better for solo riding when you want the display closer to your line of sight. Keep it low enough that it doesn’t block your forward view.
Roll cage mounting. Works on some builds when dash space is limited or a higher mounting angle is preferred. Requires cage-specific clamps and longer cable runs.(included in the ATP Pro Pack)
Avoid mounting directly in front of HVAC vents — hot air from the dash contributes to device overheating, and you’ll want that airflow staying in the cab.
Specific notes by model:
Honda Talon: The dash center section accommodates a 7-inch tablet cleanly. See [ATP Rugged Tablet for Honda Talon] for Talon-specific hardware and placement details.
Polaris RZR: Most RZR generations have a flat dash section left of center that works well for a tablet mount. See [Polaris RZR Tablet Setup] for model-specific notes.
Can-Am Maverick: The Maverick’s more complex dash requires a roll cage or column mount on most configurations.
Step-by-Step: ATP Rugged Tablet Mount Installation
Step 1: Test fit without hardware. Before drilling or fastening anything, hold the bracket in your chosen location and check sightlines, reach from the driver’s seat, and clearance from the steering wheel at full lock. Adjustments are free at this stage.
Step 2: Mark your mounting points. Most AMPS brackets use two to four mounting points. Mark them clearly. Use a level if center alignment matters — a crooked display is more distracting on long rides than it sounds.
Step 3: Fasten the bracket. Use the hardware specified for your mount. For dash-mounted brackets, torque to manufacturer spec — overtightening plastic dash surfaces can crack or deform. If you’re mounting to a roll cage, use stainless hardware and thread locker on cage-mount bolts.
Step 4: Seat the tablet. The cradle holds the tablet firmly at all four corners. If there’s any lateral play, adjust cradle tension before riding. The tablet shouldn’t move within the cradle even under firm direct pressure.
Wiring for Power: Clean Installation Principles
This is where most DIY installs cut corners — and where they create problems later.
Option 1: Hardwire to accessory circuit (recommended). Tap into the vehicle’s 12V accessory circuit using a fused Pogo Pin hardwire cable. This powers the tablet whenever the vehicle is on and cuts power when it’s off, eliminating phantom battery drain. The ATP Pro Pack includes a hardwire cable rated for the tablet’s power draw.
Option 2: 12V outlet adapter. If hardwiring isn’t an option, a quality USB-C adapter plugged into a 12V outlet works. The disadvantage: the outlet often isn’t switched (stays live when the vehicle is off), and the cable connection is more vulnerable to vibration loosening over time.
Whichever option you choose: confirm the amp rating matches the tablet’s charging requirement. An underpowered cable won’t maintain charge during high-brightness GPS operation, and the display will dim as battery drops.
Cable Management in a UTV Cab
Loose cables in a UTV become problems. They catch on gear shift levers, rub against metal edges, or pull free during hard hits.
Route cables along existing harness paths whenever possible. Use zip ties or adhesive-backed cable clips every 6–8 inches. Leave a small service loop near the tablet connection point — enough slack to absorb the tablet swiveling without stressing the connector, but not so much that the cable hangs loose.
Keep power cables away from hot surfaces near the firewall and heating vents. USB-C cables are typically rated to 85°C; in sustained summer heat near heat sources, that ceiling is worth knowing.
Testing Before the Trail
Don’t find problems in the field. Before your first ride with the new install:
- Power on the tablet and confirm the display activates.
- Open your navigation app and verify GPS lock is acquired (typically within 60 seconds in open sky).
- Download an offline map region for your planned ride area.
- Confirm the charging indicator shows active power input.
- Give the mount a firm shake in multiple directions — nothing should move.
- Check cable routing at full steering lock (left and right) to confirm no binding or tension on the cable.
Shop the ATP Pro Pack — mount, power cable, and security hardware in one box
Common Mistakes — and How to Avoid Them
Undersized power cable. If the tablet dims during navigation, the cable isn’t delivering enough current. Check the amp rating on your cable and adapter.
Not downloading offline maps before leaving. Cell service at the trailhead is usually fine. Three miles in, it isn’t. Download at home.
Mounting without a test sit. What looks right standing outside the cab often isn’t comfortable from the driver’s seat in harness. Always test from the seat before final installation.
Wrong bolt size for the AMPS mount. ATP pro Pack provides all the hardware need if providing your own hardware confirm sizing and utilize nyloc nuts or thread locker.
Frequently Asked Questions
What is the AMPS mounting pattern?
AMPS (Authorized Mounting Pattern Standard) is a 30mm × 38mm bolt pattern. It’s the industry standard for vehicle-mounted devices and is used by RAM Mount, Arkon, and most quality aftermarket UTV and motorcycle mount brands.
Can I mount a tablet on a Polaris RZR?
Yes. Most RZR generations have a flat dash section that accommodates a standard AMPS-pattern mount. See our [Polaris RZR Tablet Setup guide] for model-specific placement and hardware notes.
How do I power a tablet in a UTV without draining the battery?
Hardwire the Pogo Pin Power Supply to the vehicle’s accessory circuit. This ties tablet power to the ignition, so the tablet only draws power when the vehicle is running. The ATP Pro Pack includes a fused hardwire cable sized for this installation.
Does vibration damage a mounted tablet?
The ATP table is purpose built and tested for this environment. For other non purpose built devices you will need to isolate the tablet from vibration with some type of rubber or elastomer vibration isolators to reduce the amplitude of mechanical vibration reaching the device.
Is the ATP mount compatible with Honda Talon dimensions?
Yes. See the [Honda Talon-specific setup guide] for exact placement and bracket configuration for the Talon cab.